
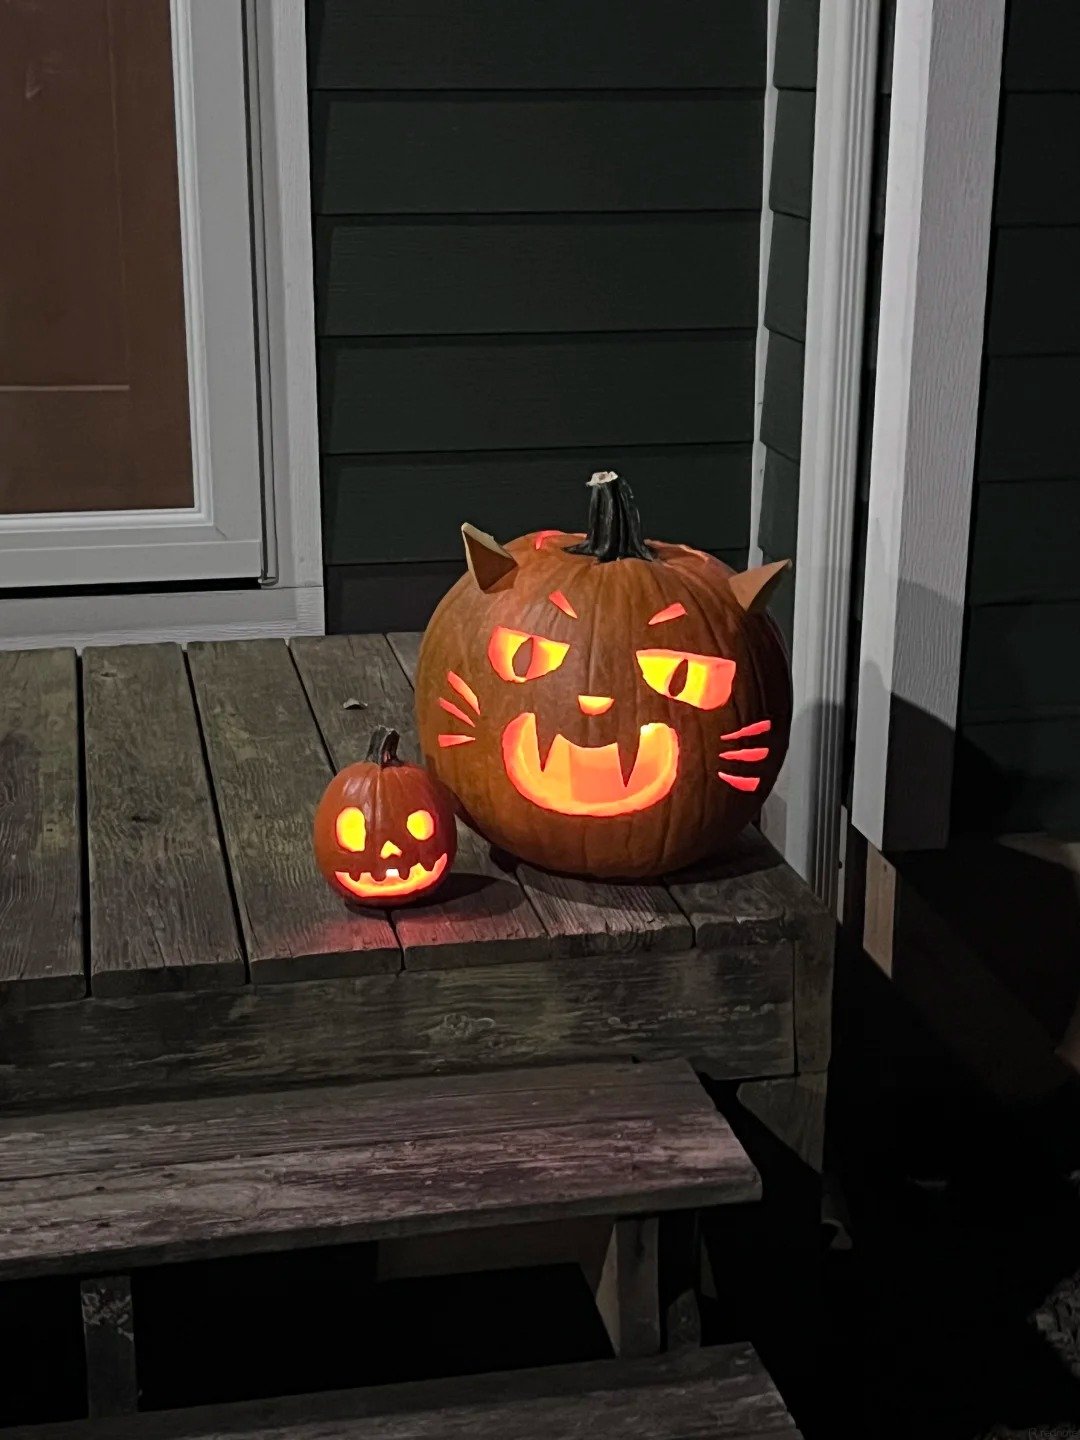
DIY Cat Pumpkin Carving Ideas: A Cute Halloween Project Anyone Can Make
Halloween is the perfect season to get creative with your home décor, and nothing says autumn quite like a glowing jack-o’-lantern. While traditional pumpkin faces never go out of style, a cute cat pumpkin offers a playful twist that’s easy to make and guaranteed to stand out.
In this tutorial, you’ll learn how to carve an adorable cat-themed pumpkin using just a few simple tools. Whether you’re decorating your front porch, hosting a Halloween party, or spending an afternoon crafting with family, this project is fun, beginner-friendly, and perfect for the spooky season.
What You’ll Need
Prepare these supplies before getting started:
- 1 large carving pumpkin
- Pumpkin carving knife or carving kit
- Spoon or scraper
- Black marker
- Paper clips or thin wire
- LED candle or tea light
- Paper towels
Optional decorations include mini pumpkins, fairy lights, autumn leaves, or Halloween candy to complete the display.
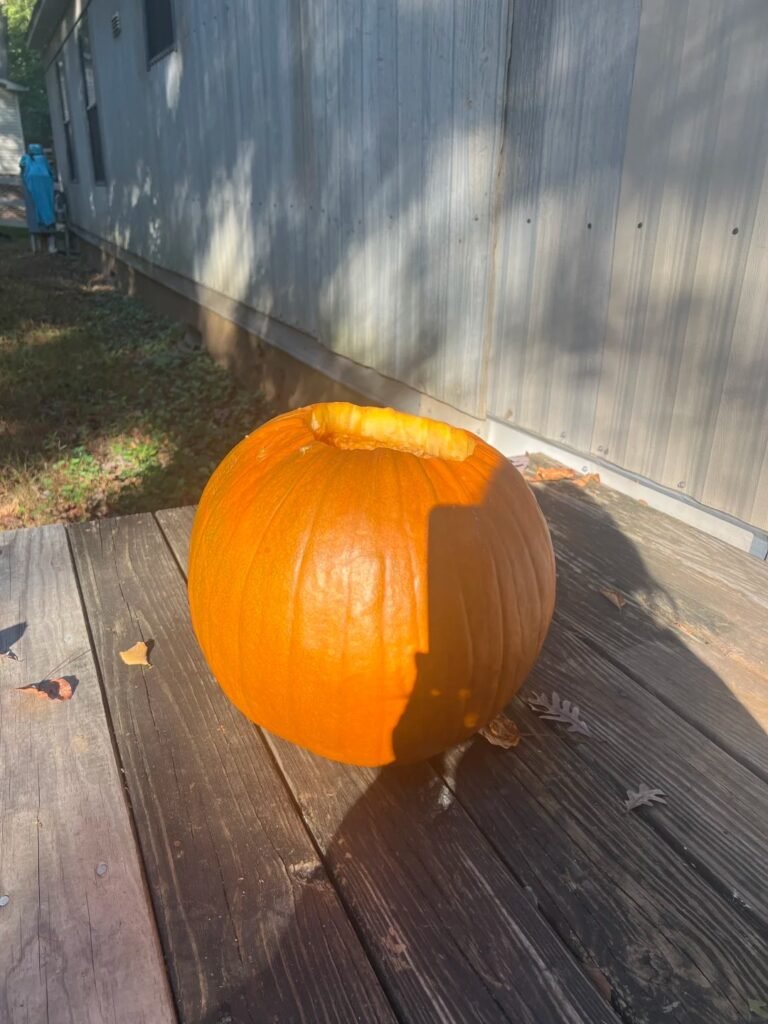
Step 1: Clean Out the Pumpkin
Cut a circular opening around the stem and remove the lid. Scoop out all the seeds and pulp with a spoon until the inside is clean.
Once finished, wipe the interior with paper towels. A dry pumpkin is less likely to develop mold, helping your decoration last several extra days.
Step 2: Draw the Cat Face
Using a washable marker, sketch your design directly onto the pumpkin.
A simple cat face usually includes:
- Two sleepy or playful eyes
- A small triangle nose
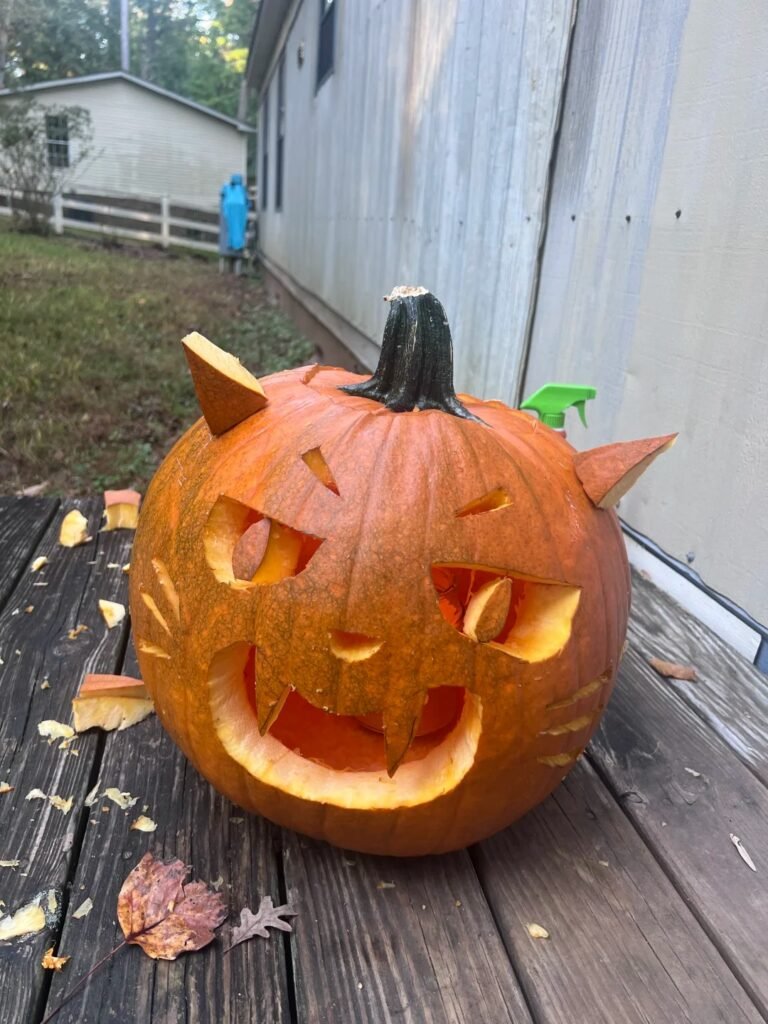
- A smiling mouth with little fangs
- Three whiskers on each side
- Two pointed ears
Don’t worry about making everything perfectly symmetrical. Small imperfections often make handmade pumpkins look even more charming.
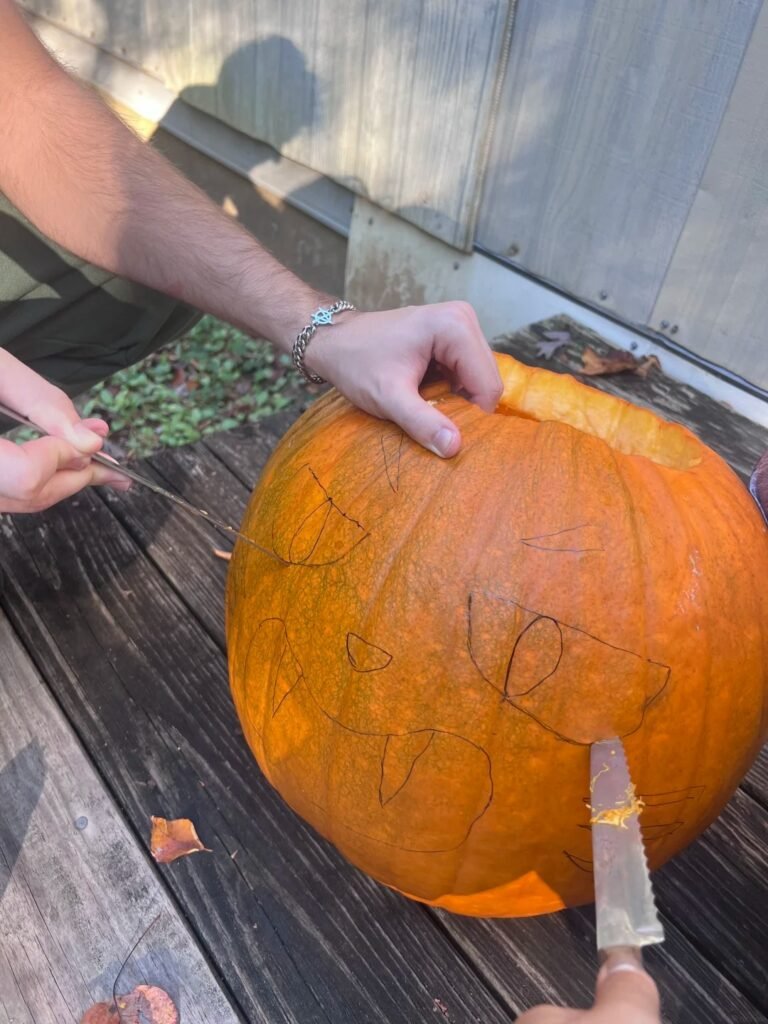
Step 3: Carve the Design
Start with the smallest pieces, such as the eyes and nose, before moving on to the larger mouth.
Take your time and make slow, controlled cuts rather than forcing the knife through the pumpkin. This reduces the chance of cracking the shell and produces cleaner edges.
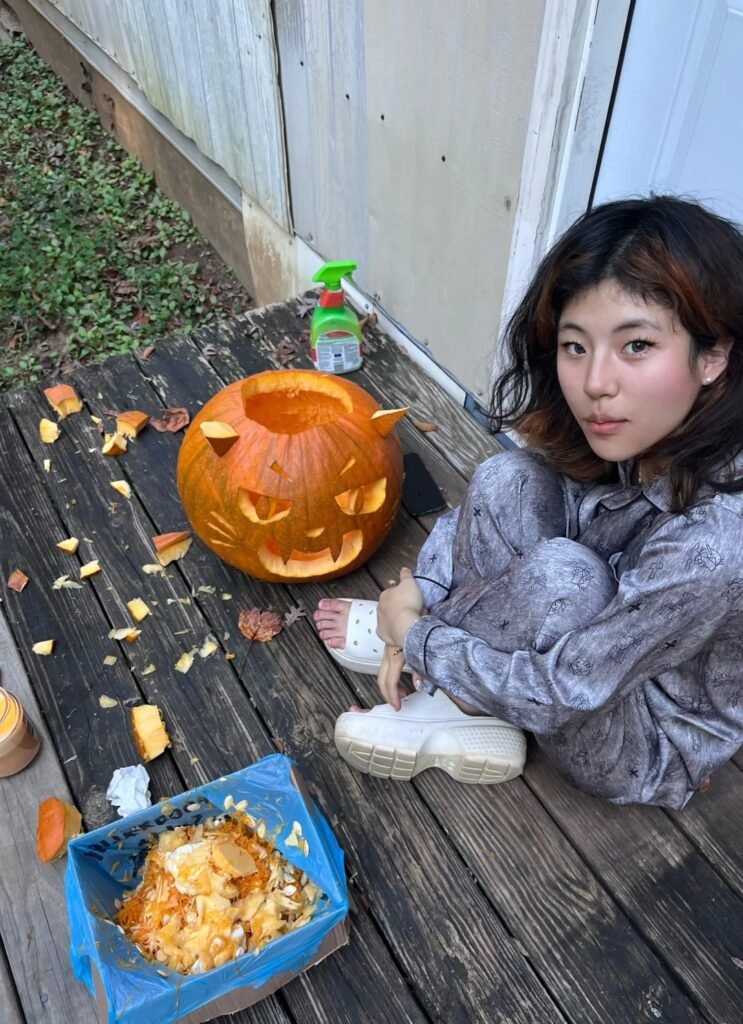
Step 4: Add the Cat Ears
Instead of carving the ears directly into the pumpkin, cut two separate triangle pieces from the pumpkin shell.
Insert them into small slots near the top and secure each ear with a paper clip or a short piece of wire. This simple trick creates a fun three-dimensional effect that makes the pumpkin look much more like a real cat.
Step 5: Light It Up
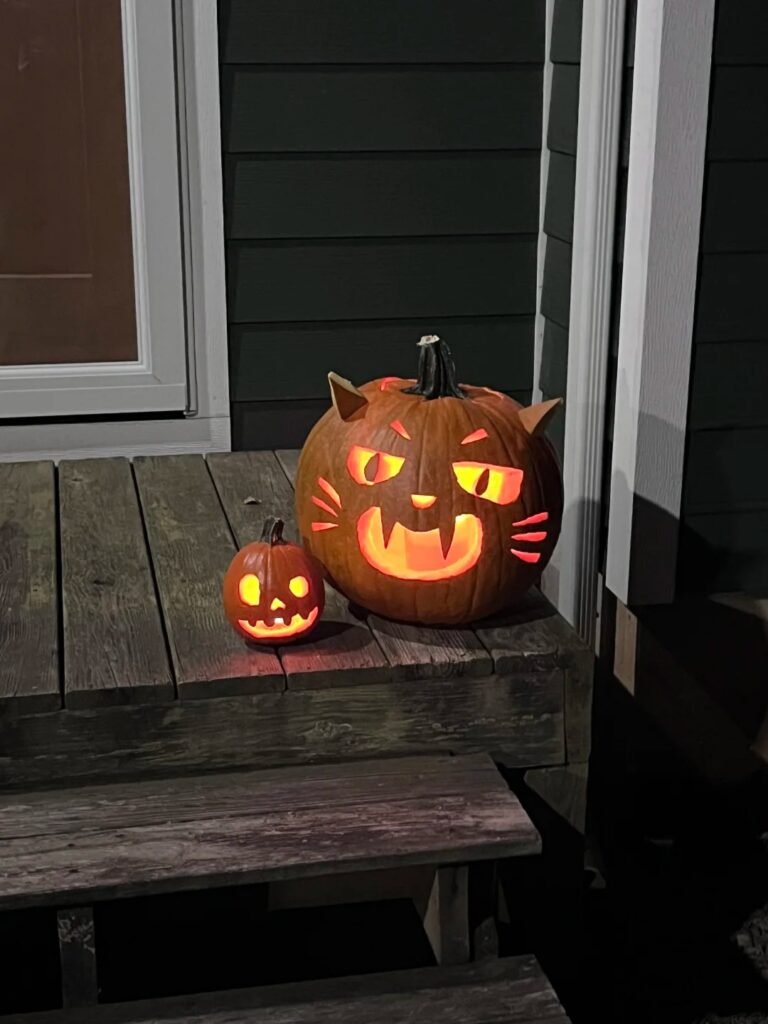
Place an LED candle inside the pumpkin and replace the lid.
As evening falls, the warm light shines through the carved face, creating a cozy Halloween atmosphere that’s both spooky and adorable.
Battery-operated candles are recommended because they’re safer, last longer, and won’t overheat the pumpkin.
Tips to Make Your Pumpkin Last Longer
Carved pumpkins naturally begin to soften after several days, but a little extra care can help preserve them.
- Dry the inside after cleaning.
- Keep the pumpkin in a cool, shaded place.
- Avoid direct sunlight during the day.
- Spray the inside lightly with rubbing alcohol or a diluted bleach solution to slow mold growth.
- Bring it indoors if temperatures become unusually warm.
With proper care, your pumpkin can stay fresh for about a week or more.
Styling Ideas for Your Halloween Display
A single cat pumpkin already makes a charming decoration, but pairing it with a few seasonal accents creates an even more inviting display.
Try decorating with:
- Mini pumpkins
- Autumn leaves
- Wooden lanterns
- Black candles
- Fairy lights
- Spider webs
- Halloween candy bowls
These simple additions help create a warm, festive entrance that’s perfect for welcoming trick-or-treaters.
Common Mistakes to Avoid
If this is your first pumpkin carving project, keep these tips in mind:
- Don’t rush the carving process.
- Avoid making the pumpkin walls too thin.
- Use LED candles instead of open flames whenever possible.
- Dry the inside before displaying the pumpkin.
Taking a little extra time during preparation will give you a cleaner result and help your pumpkin stay beautiful longer.
Frequently Asked Questions
Is this project beginner-friendly?
Yes. The design uses simple shapes, making it suitable even if you’ve never carved a pumpkin before.
How long does it take?
Most people can complete the entire project in around 30 to 60 minutes.
Can children help?
Absolutely. Kids can clean the pumpkin, draw the face, or help decorate afterward, while adults handle the carving.
Can I reuse the design?
Yes. You can trace the same pattern onto artificial pumpkins if you’d like decorations that last for many Halloween seasons.
Final Thoughts
A DIY cat pumpkin is a simple way to bring personality to your Halloween décor. With only a few basic tools and a little creativity, you can transform an ordinary pumpkin into a glowing centerpiece that’s equal parts cute and festive.
Whether you display it on your porch, use it as party décor, or simply enjoy the carving process with family and friends, this project is a fun seasonal tradition that’s sure to brighten any Halloween celebration.